
why make this recipe
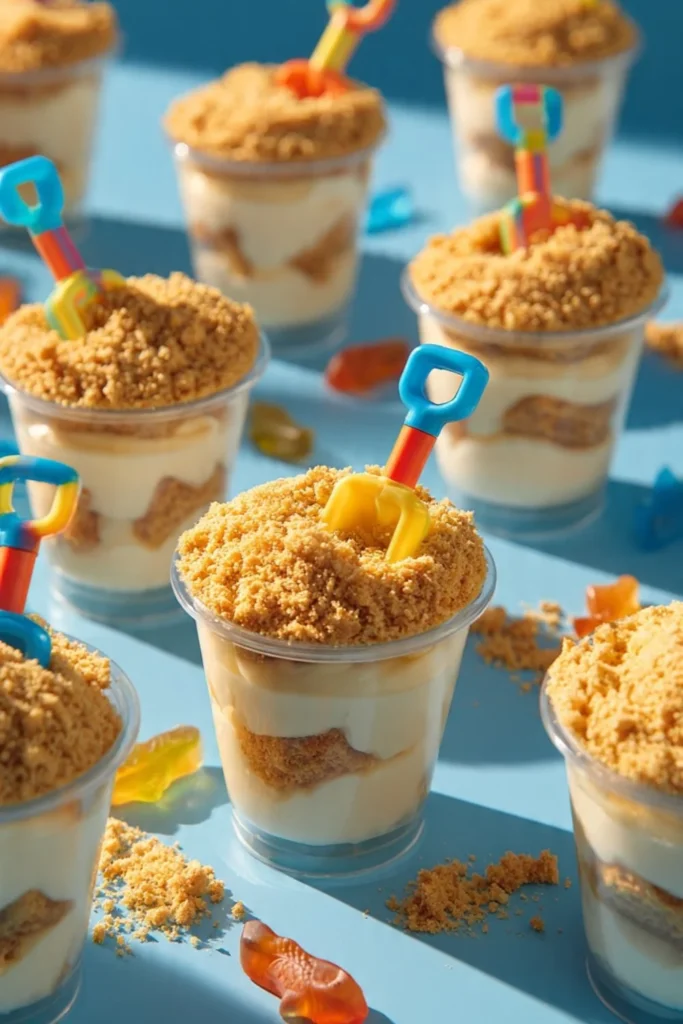
Mini Sand Pail Pudding Cups are not only a delightful treat but also a playful way to enjoy dessert. They are perfect for beach-themed parties, children’s gatherings, or any fun event. These dessert cups bring a unique twist to traditional pudding, making them visually exciting and delicious. Plus, with simple ingredients, they are easy to whip up in no time!
how to make Mini Sand Pail Pudding Cups
Ingredients:
- Chocolate pudding
- Vanilla pudding
- Crushed Oreos
- Gummy worms
- Mini sand pail cups
- Candy sand (sugar or crushed graham crackers)
- Whipped cream (optional) for topping
Directions:
- Prepare chocolate and vanilla pudding according to package instructions.
- In mini sand pail cups, layer chocolate pudding at the bottom.
- Add a layer of crushed Oreos to resemble dirt.
- Layer vanilla pudding on top.
- Sprinkle crushed graham crackers or sugar on top for ‘sand’.
- Finish with gummy worms resting on top.
- Optionally, add whipped cream before serving. Enjoy your fun beach-themed dessert!
how to serve Mini Sand Pail Pudding Cups
Serve these Mini Sand Pail Pudding Cups chilled. They look best when arranged on a tray or table, ready for guests to pick up and enjoy. You can also add extra gummy worms or a sprinkle more of candy sand on top for a fun presentation.
how to store Mini Sand Pail Pudding Cups
If you have leftovers, store them in the refrigerator. Keep them covered to maintain freshness. These dessert cups are best eaten within 1-2 days for optimal taste and texture.
tips to make Mini Sand Pail Pudding Cups
- Use pre-made pudding: If you’re short on time, you can buy ready-made pudding for even quicker assembly.
- Layer creatively: You can create more layers with different textures by adding fruits or additional cookie crumbles.
- Use big cups: If you can’t find mini sand pail cups, any small cup will do! Just adjust the quantities as needed.
variation
You can switch up the flavors of pudding to include butterscotch or strawberry for a twist. Adding different candy toppings like chocolate rocks, or fruit gummy candies can also add more fun!
FAQs
Can I make these pudding cups ahead of time?
Yes! You can prepare them a few hours or even a day in advance. Just keep them in the fridge until you’re ready to serve.
Can I use regular cups instead of mini sand pails?
Absolutely! Any small cup or glass will work just fine. The look will be slightly different, but they will still taste delicious.
What can I substitute for gummy worms?
If gummy worms aren’t your favorite, you can use other gummy candies, chocolate candies, or even fruit slices as a fun topping!
Mini Sand Pail Pudding Cups
Ingredients
Method
- Prepare chocolate and vanilla pudding according to package instructions.
- In mini sand pail cups, layer chocolate pudding at the bottom.
- Add a layer of crushed Oreos to resemble dirt.
- Layer vanilla pudding on top.
- Sprinkle crushed graham crackers or sugar on top for 'sand'.
- Finish with gummy worms resting on top.
- Optionally, add whipped cream before serving.