
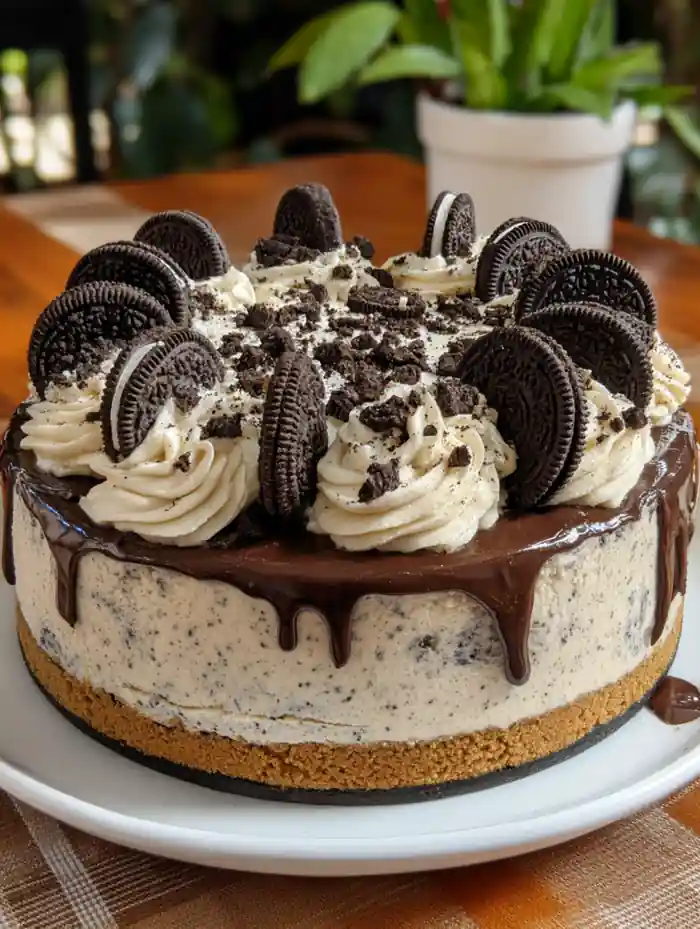
Ultra-creamy dessert with chocolate cookie crunch

If you’re looking for a dessert that feels indulgent, impressive, and completely irresistible, this Oreo Cheesecake is exactly what you need. With a rich, creamy filling packed with chunks of Oreo cookies, a deep chocolate cookie crust, and a glossy ganache topping, this dessert is pure chocolate lover’s heaven. The best part? You don’t need a water bath to achieve that smooth, bakery-style finish.
This recipe strikes the perfect balance between simplicity and wow-factor. It’s easy enough for beginner bakers but delivers a result that looks and tastes like it came straight from a professional bakery. The creamy cheesecake contrasts beautifully with the slight crunch of Oreo pieces, while the ganache adds a silky chocolate finish that takes it over the top.
Whether you’re making it for a birthday, holiday, or just because you’re craving something sweet, this easy Oreo cheesecake recipe is guaranteed to impress. And once you slice into that rich, cookie-filled center, you’ll understand why it’s a favorite for so many dessert lovers.
table of contents
Full Recipe
Ingredients
Oreo Crust
- 35 Oreo cookies (filling removed)
- 5 tablespoons (75g) unsalted butter, melted
Cheesecake Filling
- 15 Oreo cookies, roughly crushed
- 32 oz (907g) cream cheese, softened
- 1 cup (200g) granulated sugar
- ¾ cup (180g) sour cream
- 1 teaspoon vanilla extract
- 4 large eggs, room temperature
Chocolate Ganache (Optional)
- 3 oz (85g) semisweet chocolate
- ½ cup (118ml) heavy cream
Instructions
Step 1: Prepare the Oreo Crust
Preheat your oven to 325°F (160°C). Crush the Oreo cookies (without filling) into fine crumbs using a food processor. Mix with melted butter until evenly coated. Press the mixture firmly into the bottom and sides of a 9-inch springform pan. Set aside.
Step 2: Prepare Oreo Pieces
Place 15 Oreo cookies in a sealed bag and crush them into coarse chunks. You want visible pieces for texture, not fine crumbs.
Step 3: Make the Cheesecake Filling
In a large bowl, beat the cream cheese and sugar until smooth and creamy. Add sour cream and vanilla extract, mixing until fully combined.
Add eggs one at a time, mixing gently after each addition. Avoid overmixing to maintain a smooth texture. Fold in the Oreo chunks using a spatula.
Step 4: Assemble and Bake
Pour the batter into the prepared crust and smooth the top. Place the pan on a foil-lined baking sheet and bake for 50–60 minutes. The center should be set but slightly jiggly.
Remove from the oven and let it cool at room temperature for 1 hour, then refrigerate for at least 6 hours or overnight.
Step 5: Make the Ganache
Heat the cream until it begins to simmer, then pour over chopped chocolate. Let sit for 5 minutes, then stir until smooth. Pour over the chilled cheesecake and spread evenly.
Return to the fridge for about 20 minutes until the ganache sets.
Tips & Tricks
A perfect Oreo cheesecake comes down to a few key techniques. First, always use room temperature cream cheese. This ensures a smooth batter without lumps, which is essential for that creamy texture.
Another important tip is to avoid overmixing after adding eggs. Too much air in the batter can cause cracks or an uneven texture. Mix just until combined.
Pressing the crust firmly into the pan—especially up the sides—helps support the cheesecake and can even help reduce cracking.
Cooling the cheesecake gradually is also crucial. Let it cool at room temperature before refrigerating to avoid sudden temperature changes that can affect the texture.
Variations
One of the best things about Oreo cheesecake is how customizable it is. For a double chocolate version, you can add melted chocolate to the filling. This intensifies the chocolate flavor and creates an even richer dessert.
If you want a minty twist, use mint-flavored Oreos instead of classic ones. The refreshing mint pairs beautifully with the creamy filling and chocolate ganache.
For a lighter variation, you can skip the ganache and top the cheesecake with whipped cream and crushed Oreos. This still delivers great flavor while keeping the dessert slightly less rich.
You can also experiment with flavored Oreos like peanut butter or golden Oreos for a completely different take on this classic recipe.
Serving Ideas
This Oreo cheesecake is perfect on its own, but you can elevate it even further with creative toppings. A swirl of whipped cream and a few whole Oreos on top create a bakery-style presentation.
For a more indulgent dessert, drizzle extra chocolate sauce or caramel over each slice. You can also add fresh berries to balance the richness with a touch of freshness.
If you’re serving this at a party, consider slicing it into smaller portions. It’s rich enough that even small slices are satisfying, making it perfect for sharing.
Storage Tips
Store leftover cheesecake in the refrigerator, tightly covered, for up to 5 days.
You can also freeze it for up to 2–3 months. Wrap it well in plastic wrap and foil, then thaw overnight in the refrigerator before serving.
FAQs
Do I need a water bath?
No, this recipe is designed to bake perfectly without one.
How do I know when it’s done?
The center should be slightly jiggly but not liquid. It will firm up as it cools.
Disclaimer
This recipe is for informational purposes only. Results may vary depending on ingredients, equipment, and preparation methods. Always follow proper food safety practices.
Pot of Gold Cupcakes
Ingredients
Equipment
Method
- Preheat oven to 375°F and line two cupcake pans with cupcake liners.
- In a large mixing bowl, mix the cake mix, pudding mix, eggs, sour cream, vegetable oil, milk, vanilla, and salt until smooth. Fold in the mini chocolate chips.
- Fill the cupcake liners about 1/2 to 3/4 full.
- Reduce oven temperature to 350°F and bake for 18 to 22 minutes, or until a toothpick inserted in the center comes out clean.
- Let the cupcakes cool completely before decorating.
- To make the buttercream, beat the butter until creamy. Gradually add the powdered sugar, then mix in the vanilla, heavy cream, and green gel food coloring until fluffy.
- Pipe the green buttercream onto the cooled cupcakes.
- Spread a little peanut butter onto each mini peanut butter cup and dip the top into the gold sprinkles.
- Place one gold topper on each cupcake and add a rainbow candy strip to finish decorating.
Nutrition
Notes
Tried this recipe?
Let us know how it was!Conclusion
This Oreo Cheesecake is the ultimate dessert for anyone who loves rich, chocolatey treats. With its creamy filling, crunchy cookie crust, and smooth ganache topping, it’s a show-stopping dessert that’s surprisingly easy to make. Whether you’re celebrating something special or just indulging your sweet tooth, this recipe delivers every time. Once you try it, it’s guaranteed to become a favorite in your dessert collection.