

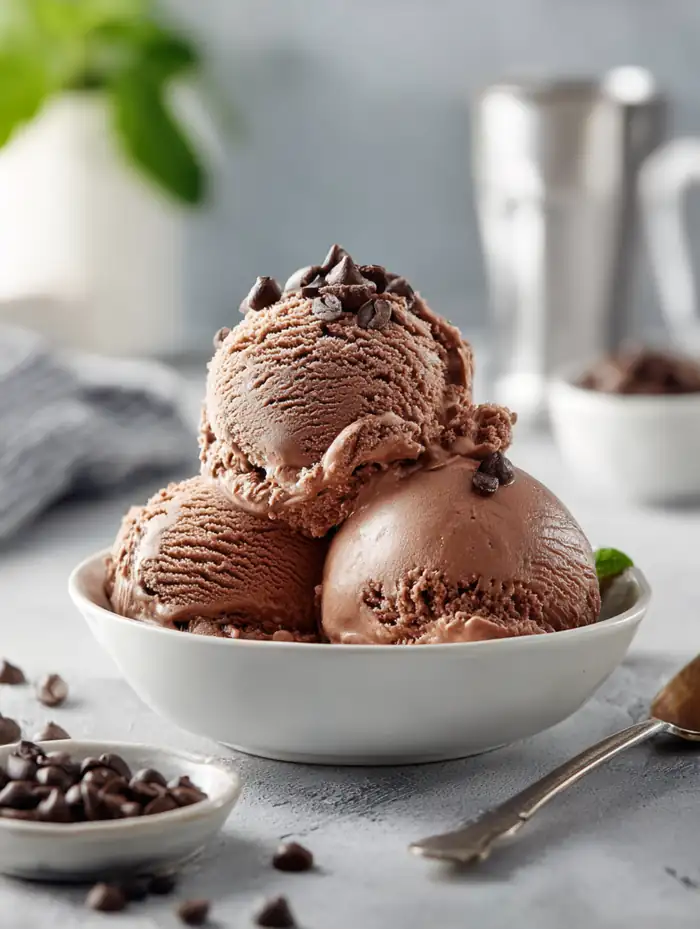
There’s something magical about homemade chocolate ice cream the kind that’s impossibly creamy, deeply chocolatey, and melts slowly on your tongue like a dream. This isn’t just any ice cream… this is the kind that makes people pause mid-bite and say, “Wait… you made this at home?”
If you’ve ever wanted to recreate that premium ice cream shop experience in your own kitchen, this recipe is your golden ticket. With two types of chocolate, a silky custard base, and a slow churn that builds luxurious texture—this recipe delivers pure indulgence in every scoop.
And the best part? It’s made with simple ingredients you probably already have.
table of contents
Full Recipe
Ingredients
- 2 cups heavy cream (divided)
- ¼ cup unsweetened cocoa powder
- 6 oz semisweet chocolate (chopped or chips)
- 1 ½ cups whole milk
- ¾ cup granulated sugar
- ⅛ tsp sea salt
- 3 large egg yolks (beaten)
- ½ tsp pure vanilla extract
Instructions
- In a saucepan, whisk together 1 cup of cream and cocoa powder until smooth. Bring to a gentle boil, then simmer for 30 seconds while whisking constantly.
- Remove from heat and add chopped chocolate. Stir until melted and silky smooth.
- Add the remaining 1 cup of cream and mix well. Transfer to a large bowl and place a fine mesh strainer over it.
- In a separate bowl, whisk the egg yolks.
- In the same saucepan, heat milk, sugar, and salt over medium heat until warm.
- Slowly add ½ cup of the warm milk into the egg yolks while whisking (this prevents scrambling).
- Pour the egg mixture back into the saucepan. Cook over medium heat, stirring constantly until the custard thickens and coats a spatula.
- Strain the custard into the chocolate mixture. Stir until fully combined and smooth.
- Add vanilla extract and mix.
- Cover and chill in the fridge for at least 6 hours or overnight.
- Churn in an ice cream maker for 30–40 minutes until thick and creamy.
- Transfer to a container and freeze for at least 6 hours before serving.
Tips & Tricks (Pro Level)
Making homemade ice cream is simple—but mastering it is where the magic happens.
1. Use high-quality chocolate
The flavor of your ice cream depends heavily on your chocolate. Go for 60% cocoa for balance, or darker if you love intensity.
2. Don’t skip the custard step
Those egg yolks are what give your ice cream that luxurious, velvety texture. Without them, it won’t be the same.
3. Chill thoroughly
This is one of the most important steps. A fully chilled base churns better and creates smoother ice cream with fewer ice crystals.
4. Strain for perfection
That fine mesh strainer ensures your base is silky smooth—no lumps, no cooked egg bits.
5. Ice bath shortcut
If you’re short on time, place your bowl in an ice bath and stir often to cool faster.
Variations (Get Creative!)
1. Chocolate Caramel Swirl
Add ribbons of salted caramel after churning. Layer the ice cream and drizzle caramel between each layer before freezing. The sweet-salty contrast is irresistible.
2. Chocolate Peanut Butter Dream
Swirl in creamy peanut butter or add peanut butter chips during the last few minutes of churning. It creates that classic chocolate-peanut butter combo everyone loves.
3. Cookies & Chocolate Explosion
Fold in crushed chocolate cookies or brownies. This adds texture and turns your ice cream into a full dessert experience.
4. Mint Chocolate Twist
Add a few drops of peppermint extract for a refreshing twist. It transforms the flavor into a cool, minty delight.
Serving Ideas (Make It Viral-Worthy)
- Serve in crispy waffle cones for that classic ice cream shop feel
- Top with whipped cream, chocolate syrup, and cherries
- Pair with warm brownies for the ultimate dessert combo
- Create an ice cream bar with toppings like nuts, sprinkles, and sauces
Pro tip: drizzle melted chocolate over the top right before serving—it hardens instantly and adds a satisfying crunch.
Storage Tips
- Store in an airtight container to prevent freezer burn
- Place plastic wrap directly on the surface before sealing
- Best enjoyed within 2–3 weeks for optimal texture
- Let sit at room temperature for 5 minutes before scooping
FAQs
Can I make this without an ice cream maker?
Yes! Freeze the mixture and whisk every 30 minutes for 3–6 hours until smooth and creamy.
Why is my ice cream icy?
It usually means the base wasn’t chilled enough or wasn’t churned properly. Always chill fully before churning.
Can I use milk chocolate instead?
You can, but it will be sweeter and less intense. Adjust sugar slightly if needed.
Disclaimer
Nutrition values are estimates and may vary depending on ingredients used. This recipe is intended for general informational purposes and should be adjusted based on dietary needs.
Best Homemade Chocolate Ice Cream Recipe
Ingredients
Equipment
Method
- In a saucepan, whisk together 1 cup of heavy cream and cocoa powder until smooth. Bring to a gentle boil, then reduce heat and simmer for 30 seconds while whisking constantly.
- Remove from heat and add chopped chocolate. Whisk until completely melted and smooth. Stir in the remaining 1 cup of heavy cream and mix well.
- In a separate saucepan, heat milk, sugar, and salt over medium heat until warm. Slowly add about 1/2 cup of the warm milk into the beaten egg yolks while whisking continuously. Then pour the egg mixture back into the saucepan.
- Cook the mixture over medium heat, stirring constantly, until it thickens and coats the back of a spatula (about 170°F).
- Strain the custard into the chocolate mixture using a fine mesh strainer. Stir until fully combined, then add vanilla extract.
- Cover and refrigerate for at least 6 hours or overnight until completely chilled.
- Churn the chilled mixture in an ice cream maker for 30–40 minutes until thick and creamy.
- Transfer to an airtight container and freeze for at least 6 hours before serving.
Nutrition
Notes
Tried this recipe?
Let us know how it was!Conclusion
This homemade chocolate ice cream isn’t just a recipe—it’s an experience. From the rich aroma of melted chocolate to that first creamy bite, every step feels indulgent and rewarding.
Once you try it, store-bought ice cream just won’t hit the same anymore.
So go ahead… make a batch, grab a spoon, and enjoy one of life’s simplest (and most delicious) pleasures.