

This no-bake Red Velvet Cheesecake is the kind of dessert that makes people say “WAIT… you made this?!” It has a buttery Oreo cookie crust, a rich-yet-light chocolate cream cheese filling with that signature red velvet vibe, and a fluffy whipped cream crown with chocolate shavings. Perfect for holidays, birthdays, Valentine’s Day, or anytime you want a dessert that looks bakery-level with surprisingly simple steps.
table of contents
Time & Servings
- Prep: 30 minutes
- Chill/Set: 5–6 hours (best overnight)
- Total: ~6 hours
- Servings: 12–16
- Calories: ~540 per slice (based on 12 servings)
Ingredients
Oreo Base
- 200g (7 oz) Oreo cookies
- 60g (4 tbsp) unsalted butter, melted
Red Velvet Cheesecake Filling
- 2 tsp unflavored gelatin powder
- 2 tbsp water
- 1 cup heavy/thickened cream (cold)
- 500g (1 lb) block cream cheese, softened
- 3/4 cup caster/superfine sugar
- 1 tsp vanilla extract
- 150g (5 oz) 70% dark chocolate, melted & cooled 3 min
- 6 tsp red food coloring (gel recommended—especially UK/EU)
Whipped Cream Topping
- 1 1/4 cups heavy cream (cold)
- 3 tbsp caster sugar
- 1 tsp vanilla extract
Chocolate Finish
- 2 tbsp shaved/grated dark chocolate
Tools You’ll Need
- 20cm / 8″ springform pan
- Food processor (or zip bag + rolling pin)
- Mixer (hand or stand)
- Parchment paper + spatula
- Small bowl for blooming gelatin
Instructions (Pinterest-friendly + foolproof)
1) Prep the Pan (Easy Removal Hack)
- Flip the springform base upside down (no lip = easier lifting).
- Lightly butter base, press parchment on top.
- Clip on the sides, letting parchment stick out.
- Line sides with parchment too.
2) Oreo Cookie Base
- Blitz Oreos into fine crumbs.
- Add melted butter and blitz again.
- Press firmly into the pan (use a flat-bottom cup).
- Chill while you make filling.
3) Bloom the Gelatin
- Add water to small bowl. Sprinkle gelatin over surface.
- Stir and rest 5 minutes (it becomes rubbery).
- Microwave 15 seconds, stir until liquid.
- Cool 3–5 minutes (must be liquid when added—re-melt if needed).
4) Make the Red Velvet Filling
- Whip 1 cup cream to stiff peaks (2–3 min). Set aside.
- Beat cream cheese + sugar 2 minutes until fluffy.
- Add gelatin liquid + vanilla; beat 30 seconds.
- Add lukewarm melted chocolate + red coloring; beat 1 minute.
- Fold in whipped cream: 1/3 first, then the rest gently.
5) Chill to Set
- Pour filling into pan, smooth top.
- Refrigerate 6 hours minimum (overnight is best).
6) Decorate
- Release springform. Slide cake off using parchment.
- Whip topping cream + sugar + vanilla until softly whipped.
- Pile whipped cream in the center leaving a border.
- Sprinkle chocolate shavings. Slice + serve!
Pro Tips (Make it Look Like a Bakery Cake)
- Use gel coloring for a deep burgundy red (especially UK/EU).
- Melted chocolate should be lukewarm, not hot—hot chocolate can loosen filling.
- For clean slices: wipe knife between cuts + warm blade briefly.
- Want make-ahead topping? Use stabilized whipped cream.
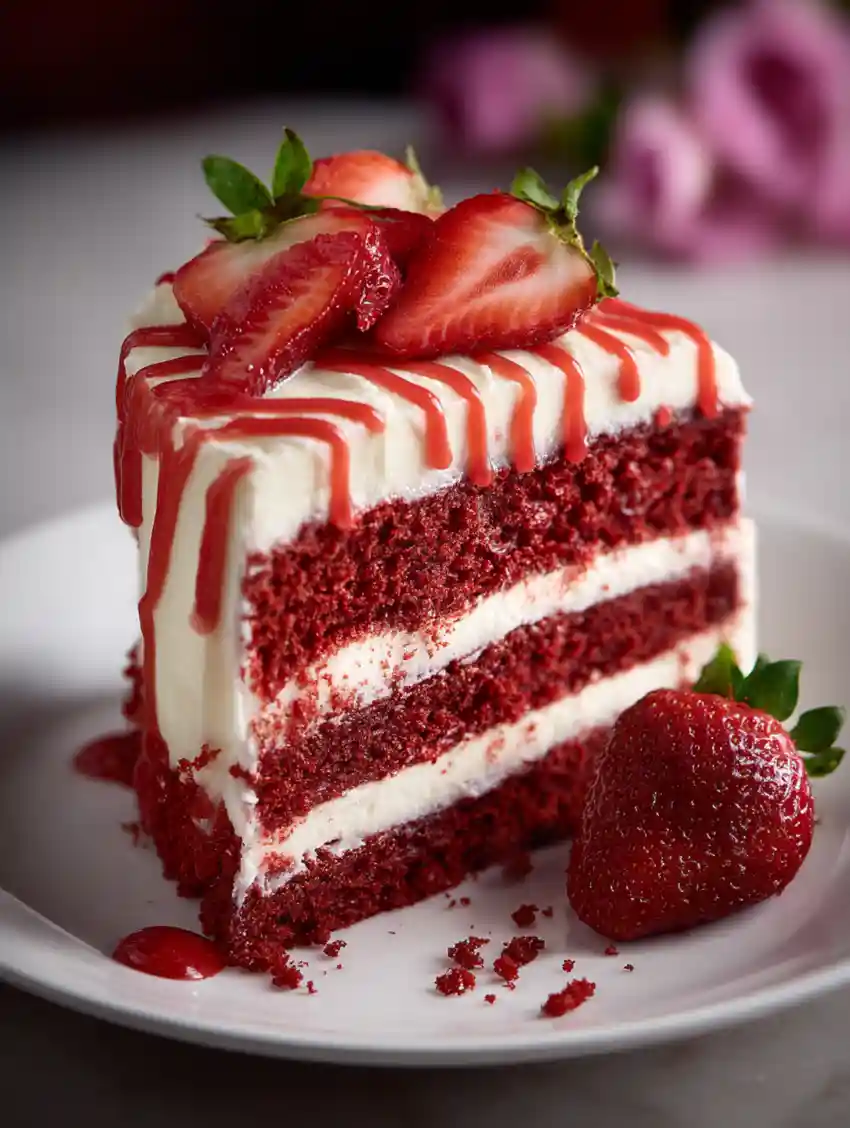
No-Bake Red Velvet Cheesecake
This No-Bake Red Velvet Cheesecake is a dramatic, creamy showstopper made with an Oreo cookie crust and a rich yet light chocolate cream cheese filling. It sets beautifully in the fridge—no oven required—then finishes with fluffy whipped cream and dark chocolate shavings.
Ingredients
Equipment
Method
- Flip the springform pan base upside down, lightly butter, and press parchment paper on top. Clip on the sides and line the sides with parchment.
- Blitz the Oreo cookies into fine crumbs, add melted butter, and blend again. Press firmly into the base of the pan and chill.
- Mix the gelatin and water and let bloom for 5 minutes. Microwave for about 15 seconds until liquid, then cool slightly.
- Whip 1 cup heavy cream to stiff peaks and set aside.
- Beat the cream cheese and sugar for about 2 minutes until light and fluffy.
- Add gelatin and vanilla extract and beat briefly to combine.
- Add the lukewarm melted chocolate and red food coloring and beat until evenly mixed.
- Gently fold in the whipped cream in two additions until smooth and airy.
- Pour the filling over the crust and refrigerate for at least 6 hours, or overnight.
- Remove cheesecake from the pan. Whip topping cream with sugar and vanilla, spread on top, and finish with chocolate shavings.
Nutrition
Notes
Use block-style cream cheese (not spreadable tubs) so the cheesecake sets properly. Gel food coloring gives the best vibrant color without thinning the batter. For best results, chill overnight before slicing. Add the whipped topping the day of serving for the freshest texture.
Tried this recipe?
Let us know how it was!Conclusion
If you want a no-bake dessert that looks expensive, this Red Velvet Cheesecake is the one. It’s creamy, chocolatey, dramatic in color, and totally “special occasion” energy—without turning on the oven.